
Your ultimate DIY auto maintenance guide
Welcome to Dan's Auto Maintenance, where we empower you with the knowledge and confidence to tackle your car's upkeep and repairs. Dive into our comprehensive guides, tutorials, and expert advice to keep your vehicle running smoothly.
Oil Changes
Gather the tools to complete this task, gloves, the best kind I have found, are kitchen gloves, to keep dirty oil off your hands, a closed end wrench or socket set to remove the oil pan drain plug. A oil filter wrench, the metal kind that works with a 3/8 drive ratchet or my favorite kind the slip joint variety. A wrench with a strap which wraps around the filter is a another choice. Some rags or shop towels, an oil absorbent mat and the recommended oil and oil filter. Synthetic oil is a great choice because it lasts 5,000 or more miles between changes. My experience has been 5-6,000 miles between changes keeps clean oil in the engine. A good oil drain pan is a good investment. This one is the one I use, it's sturdy and reliable. A word of caution, do not get underneath a car only supported by a jack alone. Use good quality jack stands in addition to the jack, if the vehicle needs to be jacked up. I recommend a good floor jack, rated for the weight of the vehicle. First thing to do is to put the oil drain pan in place so the oil flow will flow into the drain pan. Loosen the bolt on the oil pan, carefully and set on the drain pan. Move the drain pan to right below the filter to catch draining oil. Loosen the oil filter, remove it completely, wipe any oil off with a rag, set it aside, keeping it bottom side up. Replace the oil pan bolt, tighten to spec. Install new oil filter. Pull the drain pan out away from the vehicle. Add required amount of oil. Put the old filter with the drain pan in a secure place. Start the engine and reset the oil maintenance light. The procedure is found in the owner's manual or online. Congratulations, you performed an oil change!
As far as checking the oil level on a vehicle that is between oil changes, park on level ground. Get a clean rag or paper towel, pop the hood on the vehicle, put the prop rod in place, the dipstick is usually located in front, pull it out, wipe the tip clean, then reinsert it. Pull it out, check the oil level, depending on the oil level, if it's between the top two marks, add a quart, if lower, add more gradually until it's a little below or at the top mark.

Changing The Air Filter
Look for the plastic air box under the hood, or behind the glove box. Take the old one out, noting the orientation of it, put the new one in. Refasten the clips on the air box.
Checking The Thickness Of Brake Pads
Make sure the vehicle is in park, set the emergency brake. Wheel chocks, or 2x4s, 4x8s work as well to set behind the rear wheels. Putting them on diagonal wheels works well. Loosen the lug bolts on the wheel you're working on to finger tight. Jack up the vehicle and put a jack stand on each side, with the jack near your work area. Jack up the vehicle and take the lug nuts off, holding the wheel in place. Take the wheel off, put it underneath near where it was taken off. Check the thickness of each brake pad with a tape measure. Brake pads are generally considered safe at a thickness of 3-4 mm (3/32 - 5/32") When they reach or fall below 3 mm, they are in the "danger zone" and require immediate replacement to prevent rotor damage and reduced stopping power. New pads are usually 10-15 mm thick. To replace the pads, and doing the front brakes, a large C clamp works for most simple, single-piston floating calipers (common on front brakes). Otherwise, on rear ones and have the Integrated parking brake can be identified via a lever on the back where the parking brake cable is attached. If you see that, then get the special tool to screw it back in. If not that type, then loosen the front side of the caliper. Take the top bolt off, leave the bottom one on. Remove the brake pads, place an old brake pad over the piston to protect it and ensure even pressure, slowly tighten the clamp, monitoring the brake fluid reservoir to prevent it from overflowing. When the piston is pushed in flush with the caliper, it's done. Put a little brake grease on the ends and on the back of the brake pads, being careful not to get any on the front of the pad. A rag with a little isopropyl alcohol takes it off if it happens. Put the pads in place the same way they came off. Tighten both bolts on the caliper. Place the wheel on, press it up flush on the vehicle. Hand tighten the lug nuts, remove the jack stands, raising the vehicle if necessary, then lower the vehicle all the way, then tighten the lug nuts in a criss cross fashion. Start the vehicle, if you don't have power brakes, pump the brake pedal until you feel pressure building completely, then you're done. If you do have power brakes, pull forward slowly, pump the brake pedal until you feel pressure building completely, then check that the vehicle will stop. If no issues come up, then you're done.
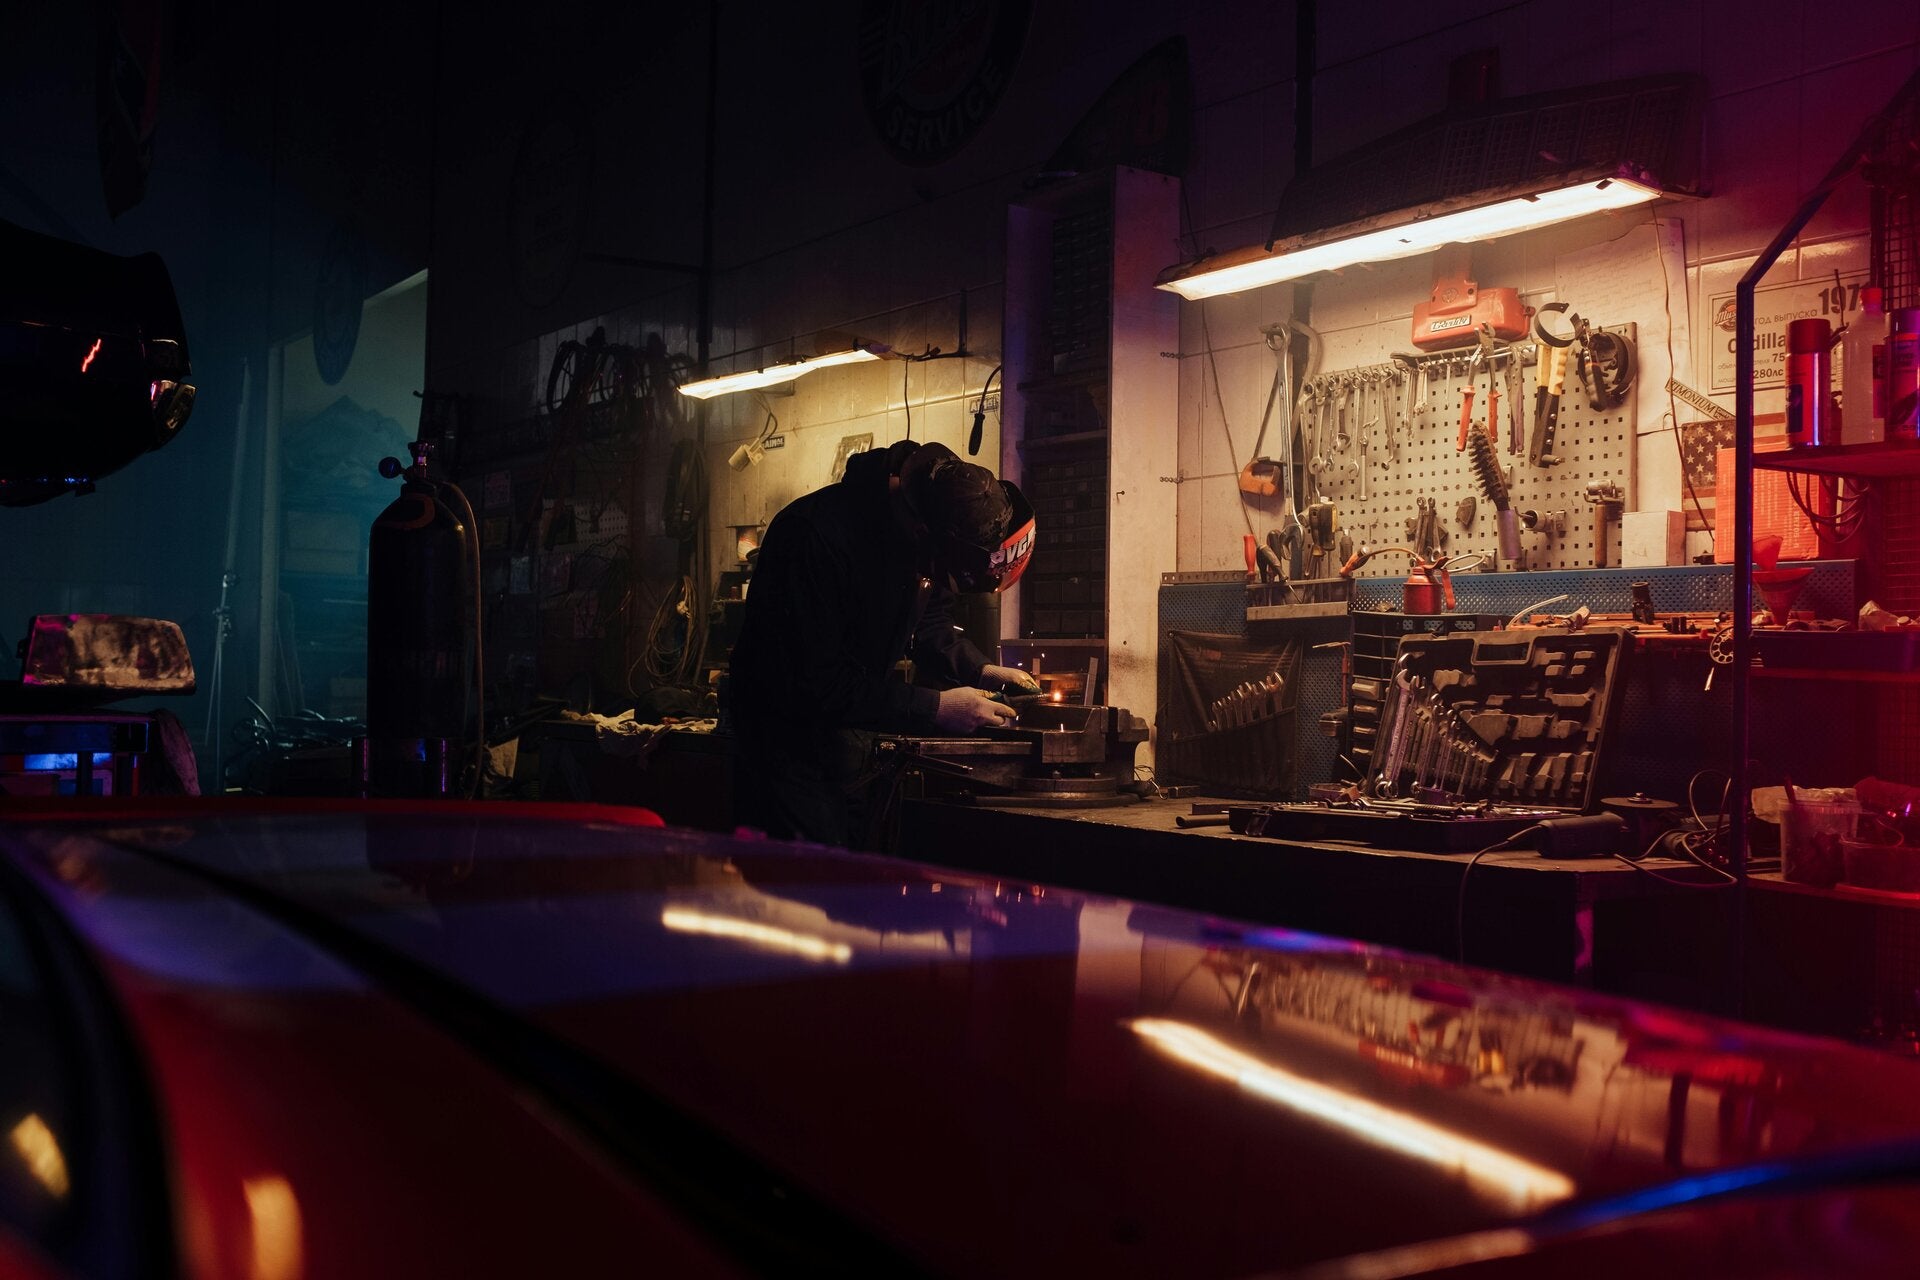
About Dan's Auto Maintenance
It all started with a passion for cars and a desire to share knowledge. Dan's Auto Maintenance is a project dedicated to providing reliable, easy-to-understand DIY expertise for auto care. Our mission is to help you save money, learn new skills, and confidently maintain your vehicle. We believe that with the right guidance, anyone can become their own expert mechanic.